Packaging and Distribution of the Minimal FastAPI Project

This is the second in the series of articles about building the Minimal FastAPI Project. While the previous article covered directory structure, virtual environment, code linting, continuous integration, version control, and automated tests, this article deals with distributing the application in the form of Docker containers.
As a final result, we will have the FastAPI application running in a Docker container, accessible through Caddy as a reverse proxy and with services orchestrated by Docker Compose. This solution can be used directly in production or as a foundation for more complex projects. Furthermore, it works the same way in both development and production.
Introduction
The application is ready, tested, and functioning in the development environment. Now, we need to deploy it into production, but starting from scratch involves several steps:
- Acquiring and configuring a domain
- Setting up the hosting provider
- Installing and configuring the application
- Installing and configuring the web server (reverse proxy)
- Monitoring and managing the application
Actions 1, 2, and 5 are not directly related to the application, and we won't cover them in this article. However, steps 3 and 4 can be part of the project if the application and its dependencies are distributed in the form of Docker containers.
Packaging and distributing an application in containers is a common practice in production environments. The main reasons for this are that containers are encapsulated and portable, making them deployable on different platforms and infrastructures.
For the Minimal FastAPI project, we will need two containers:
- A container for the application
- A container for the web server (reverse proxy)
A reverse proxy is a web server that acts as an intermediary between clients and the application server. It receives requests from clients (usually on the Internet) and forwards these requests to the target servers or services based on predefined routing rules.
We will use Caddy as the reverse proxy because it is easy to configure and offers advanced features such as automatically supporting HTTPS using Let's Encrypt.
Orchestration will be done by Docker Compose, which is not the most powerful container orchestration tool available, but it is an excellent choice for local development and testing, and deployments where simplicity and ease of use are a priority.
Container Orchestration
Let's start with orchestration because it will give us an overview of how the application deployment will look. The docker-compose.yml for the Minimal FastAPI project is presented below:
Caddy
We will use a configuration inspired by the example from the Caddy Docker Hub image documentation:
The caddy:alpine image (line 4) is the most suitable for the Minimal FastAPI project because we don't need to install any additional Caddy modules or plugins at the moment.
Line 6, init: true, initiates an init process that ensures proper container shutdown when the main application process within the container is terminated.
Lines 8 to 10 enable Caddy to listen on ports 80 and 443 to serve HTTP and HTTPS requests.
Line 12 maps the Caddyfile, which is the Caddy configuration file, to its expected path within the container (/etc/caddy/Caddyfile). This allows the Caddy configuration to be changed without the need to rebuild the container image.
As recommended in the documentation, the /data directory should be persisted to a volume (lines 13 and 32) to ensure that important data such as TLS certificates is not lost when the container is restarted.
The DOMAIN environment variable (line 15) defines the domain that will be used in the Caddyfile.
App
The app service is the FastAPI application container:
Line 23 indicates that the container image will be built from the current directory, which should contain the Dockerfile.
The application will be listening on port 5000 (line 26).
Line 27 specifies that the container will be automatically restarted in case of failure or when Docker is restarted.
Line 29 sets the ENV environment variable to the value production if it hasn't been defined previously.
Lines 30 to 36 define the command that will be executed when the container starts. The difference with the original command is the inclusion of the option --root-path=/api, so that it is possible to access the API documentation through the path /api/docs instead of /docs, since the application will be accessed through the reverse proxy from /api, as will be presented in the following section on Caddy configuration.
Caddy Configuration
Caddy is configured through a configuration file called Caddyfile. For the Minimal FastAPI project, we have the following configuration:
|
{$DOMAIN:localhost} {
|
|
handle_path /api* {
|
|
reverse_proxy h2c://app:5000
|
|
}
|
|
handle {
|
|
redir https://{host}/api/docs
|
|
}
|
|
}
|
Line 1 defines the domain address. If there is no DOMAIN environment variable defined, the domain will be set to localhost.
In line 2, handle_path /api captures all requests that start with /api and implicitly removes this prefix. The reverse_proxy directive forwards the requests to the application server (line 3), which listens on port 5000 of the app service, using the h2c protocol.
The h2c:// scheme refers to the HTTP/2 Cleartext protocol, which is a version of the HTTP/2 protocol without encryption. The advantage of h2c is that it retains the benefits of HTTP/2 but without the overhead of TLS encryption. It's not secure for external use, but it's suitable for internal use because Caddy and the application will be running on the same server. In other words, all communication will be done over HTTP/2, but only the first stage (between the client and the proxy) will be encrypted.
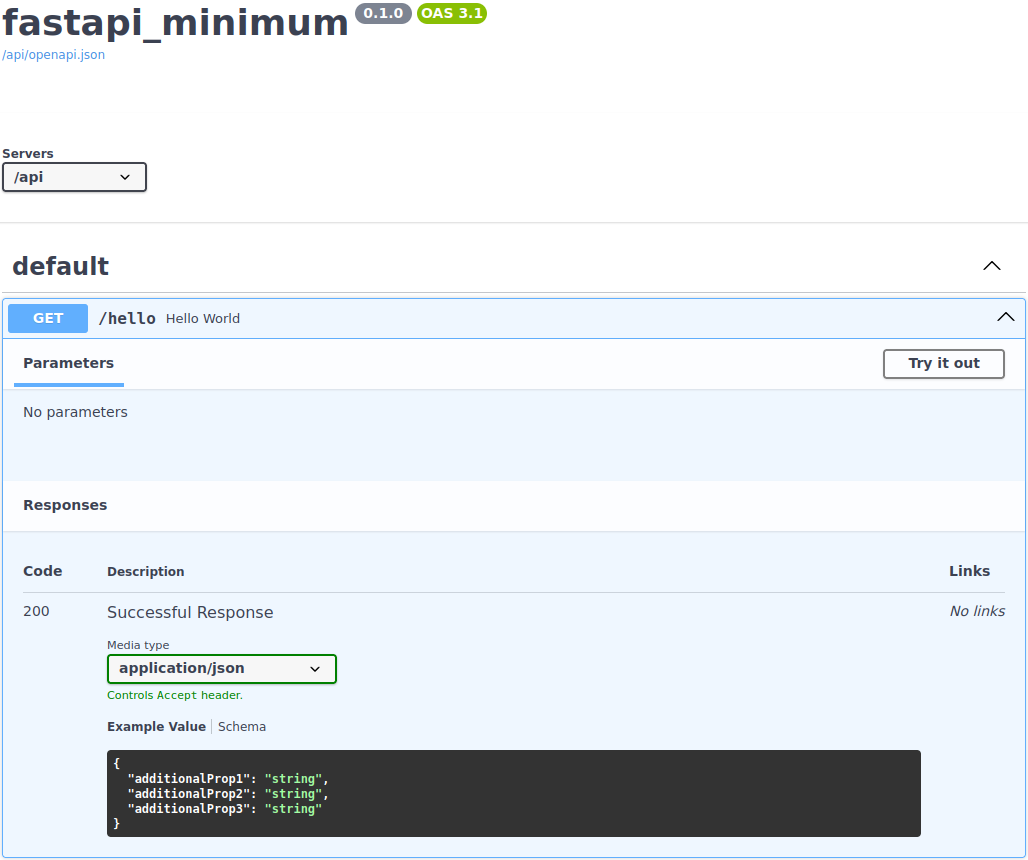
Finally, we set the API documentation page as the project's homepage: The handle directive (line 5) handles all requests that haven't been captured previously and redir redirects them to https://{host}/api/docs (line 6).
And there you have the API documentation page as the project's homepage:
Creating the Application Container
Building a container involves two files: Dockerfile and .dockerignore.
.dockerignore
The Minimal FastAPI project is quite simple. In addition to pyproject.toml and poetry.lock, which are used for dependency installation, the only files truly needed for building the Docker image are:
fastapi-minimum
├── hypercorn.toml
├── pyproject.toml
├── poetry.lock
└── fastapi-minimum
    ├── __init__.py
    ├── config.py
    ├── main.py
    ├── resources.py
    └── routers
        ├── __init__.py
        └── hello.py
However, the working directory is not like that. Considering files and directories related to the virtual environment, version control, cache, logs, tests, etc., the project structure is likely to be:
fastapi-minimum
├── .coverage
├── Dockerfile
├── .dockerignore
├── .github
│   └── workflows
│       └── continuous_integration.yml
├── .hg
│   └── ...
├── .hgignore
├── htmlcov
│   └── ...
├── hypercorn.toml
├── Makefile
├── fastapi-minimum
│   ├── config.py
│   ├── __init__.py
│   ├── main.py
│   ├── __pycache__
│   │   ├── config.cpython-311.pyc
│   │   ├── __init__.cpython-311.pyc
│   │   ├── main.cpython-311.pyc
│   │   └── resources.cpython-311.pyc
│   ├── resources.py
│   └── routers
│       ├── hello.py
│       ├── __init__.py
│       └── __pycache__
│           ├── hello.cpython-311.pyc
│           └── __init__.cpython-311.pyc
├── .mypy_cache
│   └── ...
├── poetry.lock
├── pyproject.toml
├── .pytest_cache
│   └── ...
├── README.rst
├── .ruff_cache
│   └── ...
├── scripts
│   └── install_hooks.sh
├── tests
│   ├── conftest.py
│   ├── __init__.py
│   └── routers
│       ├── __init__.py
│       └── test_hello.py
└── .venv
    ├── bin
    ├── .gitignore
    ├── lib
    └── pyvenv.cfg
To ensure that only the necessary files are copied when creating the Docker image, you need a .dockerignore file with a list of patterns to be ignored.
The patterns for the Minimal FastAPI project are:
.coverage
Dockerfile
.dockerignore
.git
.github
.hg
.hgignore
htmlcov
Makefile
.mypy_cache
.pytest_cache
.ruff_cache
README.rst
scripts
tests
.venv
**/__pycache__
Another way to specify it is by listing what should be copied. To do this, ignore all files and directories except those that are necessary for building the image:
The * pattern in line 1 indicates that all files and directories should be ignored. Lines starting with ! are exceptions to the rule. Therefore, lines 2 to 5 specify the files and directories that will be included. The **/__pycache__ pattern should be placed on the last line to ignore all __pycache__ subdirectories of included directories in the project.
Dockerfile
The Dockerfile we follows the recommendations found in 1, 2, and 3:
Multi-Stage
The image building process is done in two stages: builder and final. The first stage is responsible for building and installing dependencies in a virtual environment (lines 1 to 18). The second stage copies the virtual environment from the previous stage, copies the remaining project files from the host computer, and configures the application for production use (lines 21 to 31).
Multi-stage building ensures that the final image remains as small as possible because the tools and libraries used in the build are not included in the final image.
Usage of Official, Small, and Secure Images
Both stages are based on the official Python image 3.11-slim, which is considered the best base image for a Python application currently available due to its security and small size.
Installation of Dependencies
|
RUN DEBIAN_FRONTEND=noninteractive apt-get update && \
|
|
apt-get install -y --no-install-recommends build-essential curl
|
Line 3 installs the necessary tools and libraries for compiling and installing the project's dependencies: build-essential contains compilers and build tools, and curl will be used for installing poetry.
The command apt-get update updates the package index, DEBIAN_FRONTEND=noninteractive, and the -y option prevent the need for user interaction during package installation, and the --no-install-recommends option avoids installing unnecessary packages.
Depending on the application's dependencies, you may need to include additional libraries. For example, if the application used PostgreSQL as a database, you would need to add libpq-dev to the installation to compile the pyscopg2-binary package.
Avoiding the Creation of .pyc Files
The presence of the PYTHONDONTWRITEBYTECODE environment variable prevents Python from creating .pyc files (line 6). These files are specific to the environment in which they were created because they contain metadata such as absolute paths of imported modules, timestamps, and other system-specific information. Importing .pyc files generated in one stage of the Dockerfile can lead to execution issues if the original metadata is not compatible with the final environment.
In any case, there's no need to keep .pyc files in the image or transport them from one stage to another because these files can be regenerated during the first execution of Python code.
Forcing Python Output Buffering
Setting PYTHONUNBUFFERED=1 (line 7) is a good practice to ensure that Python output is immediately displayed in the image build log without any information being lost or delayed in a buffer in case of compilation or execution errors.
Creating the Virtual Environment
Line 8 creates the Python virtual environment in /venv, where the project's dependencies will be installed. This is the only directory that will be copied to the final image.
Poetry Installation
|
ENV POETRY_VERSION=1.5.1
|
|
ENV POETRY_HOME=/opt/poetry
|
|
SHELL ["/bin/bash", "-o", "pipefail", "-c"]
|
|
RUN curl -sSL https://install.python-poetry.org | python -
|
Poetry is the dependency management tool used by the Minimal FastAPI Project.
Just like the dependencies used in the project, it's important to pin the version of Poetry to ensure that dependencies are consistently installed. The version of Poetry used and tested in the project is 1.5.1, and it is fixed using the POETRY_VERSION environment variable (line 10).
The location of the Poetry installation directory is defined in the POETRY_HOME environment variable (line 11), and the poetry installation itself occurs on line 13. Line 12 is a suggestion from hadolint to detect issues during the concatenation of bash commands using | (pipe) (DL4006).
Installation of Project Dependencies
|
WORKDIR /app
|
|
COPY pyproject.toml poetry.lock ./
|
|
RUN . /venv/bin/activate; \
|
|
$POETRY_HOME/bin/poetry install --only main --no-interaction
|
The installation of dependencies occurs between lines 15 and 18. The WORKDIR directive sets the current directory. In line 16, the files pyproject.toml and poetry.lock are copied to the current directory. Then, the virtual environment is activated with the command . /venv/bin/activate (line 17), which alters the PATH and forces the installation of dependencies into the /venv directory.
Finally, the command poetry install --only main --no-interaction installs only the dependencies from the main group and does so without any user interaction during installation (line 18).
Of all the project files, only pyproject.toml (the list of project dependencies) and poetry.lock (the list of exact versions required) are used in the first stage because these dependency lists change infrequently, while the parts of the project that change most frequently are only copied in the second stage. This separation is important because Docker uses a cache to avoid rerunning commands that haven't changed. So, in the case of rebuilding the image, the process of installing dependencies will not be executed again unless pyproject.toml or poetry.lock has been altered, which makes the image building process much faster.
Copying and Configuring the Virtual Environment
In the second stage, the virtual environment is copied to the final image (line 23) and enabled by adding its path to the beginning of the PATH environment variable (line 24).
Working Directory and Non-Privileged User
For security reasons, it is recommended to run the application with a non-privileged user instead of running it as root, which is the default user inside a Docker container. Ideally, you should create a specific user and group for each application so that any potential attack does not have access to other processes or system files belonging to the same user/group. However, since there will only be one process running in the container, you can simply use the nobody user and the nogroup group, which are available in Debian-based Linux distributions, just like the python:3.11-slim base image used in this project.
So, line 27 defines nobody as the default user, and lines 28 and 29 copy the remaining project files to the /app working directory, owned by nobody:nogroup.
Running the Application
Line 31 contains the command that will be executed when the container starts. However, it is overwritten in the orchestration so that the application is accessed through the reverse proxy from /api, as seen previously.
Thus, we maintain a generic Dockerfile that can be used in different environments, simply changing the application execution command.
Configuring Orchestration for Development
During development, it's common to use a web server that automatically restarts the application whenever a project file is changed. To achieve this behavior in the container-based solution, we need a different configuration to be used only during development. This configuration will be kept in a separate file named docker-compose.dev.yml:
There are two necessary changes: modifying the CMD of the application container to include the --reload option for hypercorn (line 8) and mapping the project directory so that local changes are reflected from within the container (lines 11 and 12).
The development mode of the orchestration is activated with the command docker compose -f docker-compose.yml -f docker-compose.dev.yml up, which merges the configurations from both docker-compose.yml and docker-compose.dev.yml.
New Tasks in the Makefile
With the inclusion of containers, the reverse proxy, and docker compose in the Minimal FastAPI Project, some tasks in the Makefile need to be added or updated:
The run task starts the containers in production mode.
The run_dev task starts the containers in development mode.
smoke_test runs a quick test to check if the application is working correctly. It starts the containers in production mode, waits for 4 seconds to allow the application to start, and then makes an HTTP/2 request to the /api/hello endpoint. If the request fails, the task exits with an error code of 1. Otherwise, a success message is displayed, and the task exits with an error code of 0.
The trap 'docker compose down' EXIT command ensures that the containers are stopped even if the task is interrupted by an error or by the user.
To test the endpoint, httpx was used because it is already a dependency of the Minimal FastAPI Project. No other tools need to be installed. The httpx command is executed with the --http2 option to use the HTTP/2 protocol and the --no-verify option to skip TLS certificate verification. The -v option is used to display request logs.
The other tasks in the Makefile remain unchanged.
Continuous Integration
The final change is the addition of a new job named Smoke Test at the end of the .github/workflows/continuous_integration.yml file:
Final Remarks
The Minimal FastAPI Project continues to serve the same purpose as a starting point for more complex projects, but now it includes container orchestration to simplify the development and deployment of the application.
You can run the application on any server that has Docker installed, without the need to install Python or any other dependencies. This same solution makes the development and production environments nearly identical, as recommended by item X. Parity between development and production of the "The Twelve-Factor APP" manifesto.
The project template is available on GitHub. To create a new project instance, you can use cookiecutter. I recommend combining it with pipx.
References
| 1 | Articles: Production-ready Docker packaging for Python developers |
|---|
| 2 | Docker Best Practices for Python Developers |
|---|
| 3 | Best practices for writing Dockerfiles |
|---|
Next Article: How to Create Structured and Traceable Logs in FastAPI Applications
Previous article: Minimal FastAPI Project
Comments
Comments powered by Disqus